Cutter
A tool is one entry in the project's tool house, identified by its T-number, and it is the whole assembly the spindle turns: a cutter, the holder it sits in, how far it stands out, and the sensor settings a smart holder needs. All of it is edited on the Tool House page, one tool at a time and one aspect per tab.
What each quantity means, and how to choose between the two ways of expressing a cutting envelope, is Cutter Geometry. This page is where they are entered.
Where it is
The Tool House page, at /tool-house, reached from the menu bar's Page dropdown. Three columns:
the tool house and its tool list on the left, the selected tool's tabs in the middle, and a canvas
drawing that tool on the right. Selecting a different tool keeps the tab you were on, so a walk down
the list stays on the same aspect of each tool.
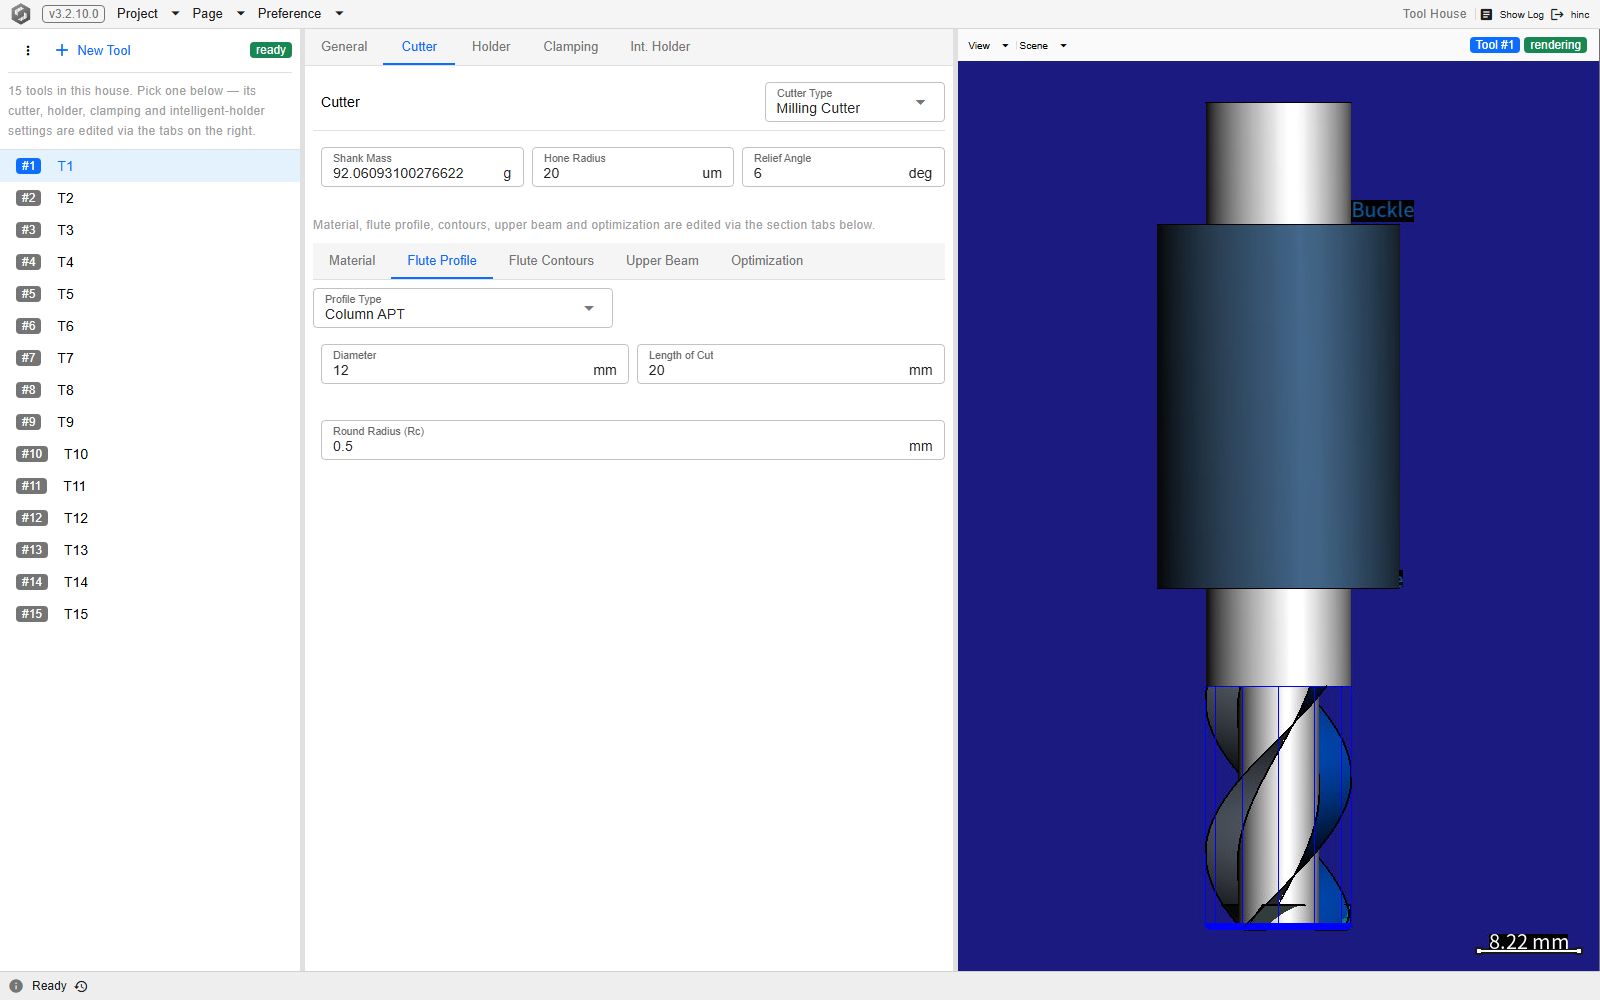
Tool 1 of a fifteen-tool demo house with the Cutter tab open, at /tool-house/1/cutter/profile.
The tool list carries one row per tool — its number badge and its note, or the derived abstract note
where no note has been typed. The tab strip above the editor is the tool's five tabs; below the
cutter's own identity fields is a second strip of section tabs, and Flute Profile is the one
selected, showing a Column APT profile with its diameter, length of cut and round radius.
The tool house is a file of its own
The list on the left is the project's tool house, and the Object Management (⋮) button beside
New Tool manages the whole house rather than one tool — its file extension is
.MachiningToolHouse. That is how a set of tools is reused: Save As writes the house out, and
Load on another project installs it in place of whatever that project had. A shop that runs the
same twenty tools across every job describes them once.
New Tool stays disabled until the project has a tool house at all; a project without one shows an
empty-state block naming that button and the .MachiningToolHouse extension instead of the tool
count.
Creating, duplicating and deleting a tool
There is no dialog to fill in first — a new tool arrives with default values and is then set up in the tabs.
- Press New Tool. The tool takes the next number: one past the largest already in the house, or 1 in an empty one.
- Open the General tab to give it its identity. Tool ID is the T-number, and committing a change there renames the tool. Note is yours to write; the read-only Abstract Note beneath it is derived from the cutter you give the tool in the next step, and carries a one-click copy button.
- Duplicate and Delete are icon buttons on the same tab. A duplicate is inserted at the first free number past both the tool it was copied from and the largest in the house, so it never lands on top of an existing tool.
A tool number cannot be repeated. Renaming a tool onto a number the house already holds is refused as a conflict rather than overwriting anything, so the way to swap two numbers is to move one of them out of the way first.
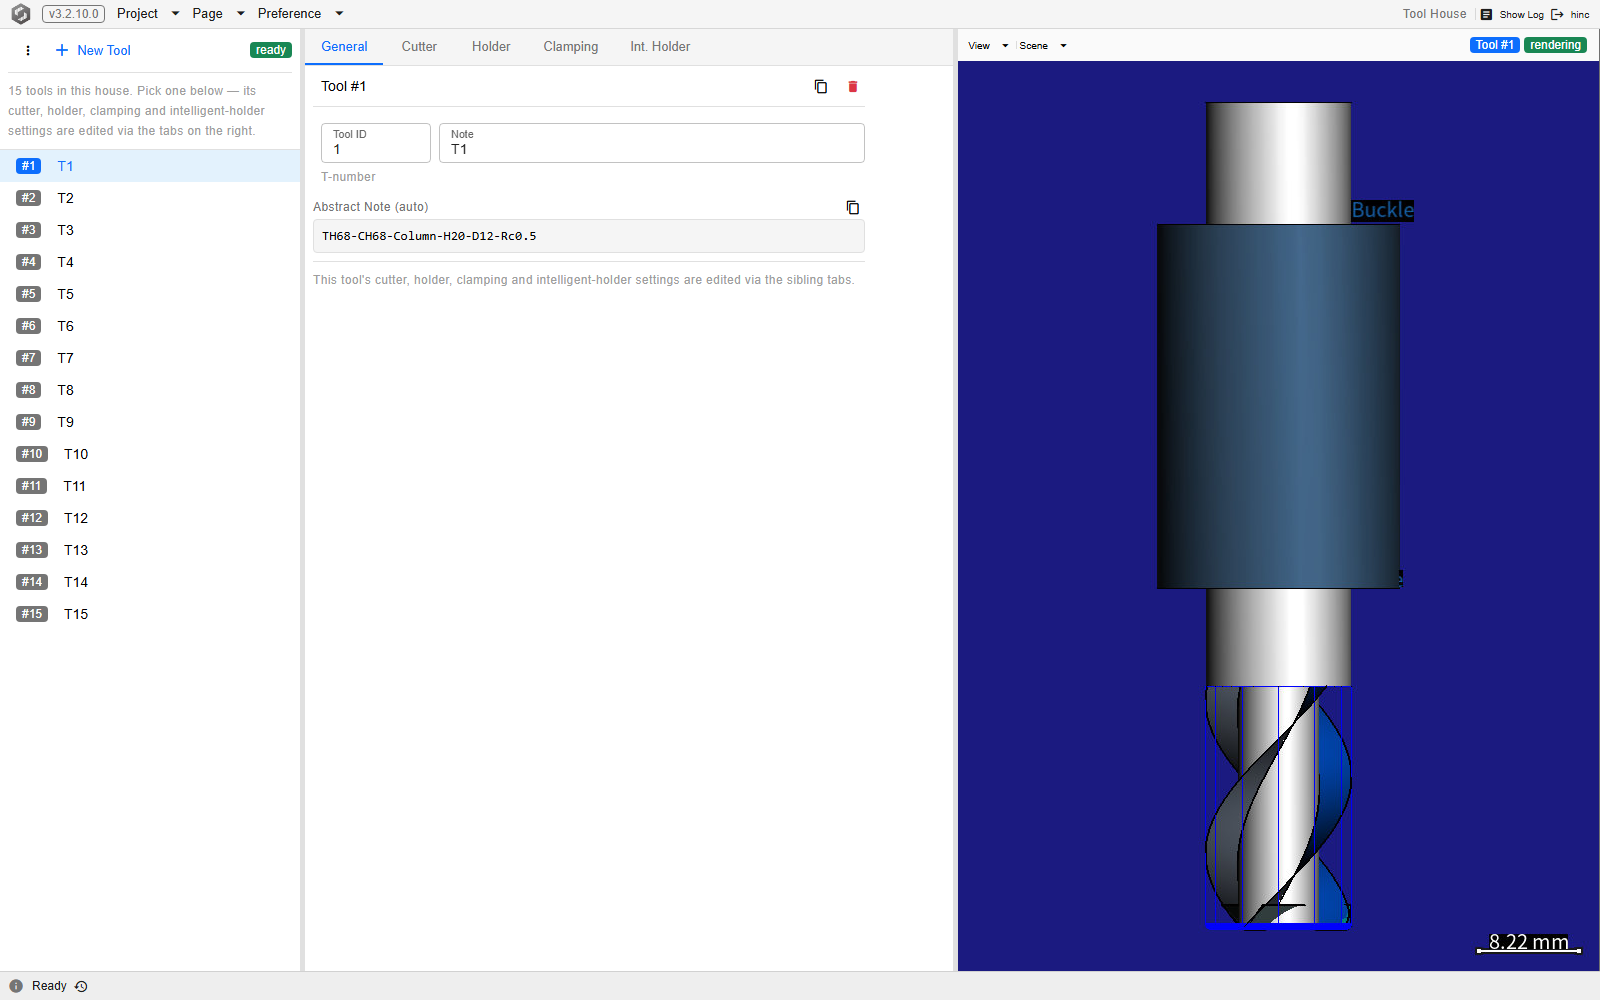
Tool 1's General tab, at /tool-house/1. The Abstract Note below the editable note is
derived from the cutter the tool carries rather than typed, which is why a tool with no note of its
own still reads as something recognisable in the list on the left.
Giving it a cutter
The Cutter tab chooses what kind of cutter the tool carries — Milling Cutter, Freeform Remover, or none — and holds the fields every cutter has: Shank Mass, Hone Radius and Relief Angle. Assigning a milling cutter grows a second strip of section tabs beneath them, and that is where the description proper is entered:
| Section tab | What it holds |
|---|---|
| Material | The flute, shank and coating materials. It is there only while the Show Physics Options preference is on, and when it is there it is the first tab in the strip — so on a device with that preference off the strip has four tabs and opens on Flute Profile instead. See Preferences, which also covers why flipping that preference does not change a strip already on screen. |
| Flute Profile | The cutting-edge envelope, as one of the five APT types: General, Ball, Column, Cone and Taper. |
| Flute Contours | The fluting: how many flutes, and each flute's side and bottom contour. |
| Upper Beam | The shank above the flute. |
| Optimization | The per-cutter limits the optimizer respects. |
Holding it, and how far it stands out
Three more tabs carry the rest of the tool.
Holder picks the holder kind — none, a Cylindroid holder, or a freeform one — and, for a cylindroid holder, grows Geometry and Resolution sub-tabs: the holder's Z-against-radius profile, and how finely it is meshed.
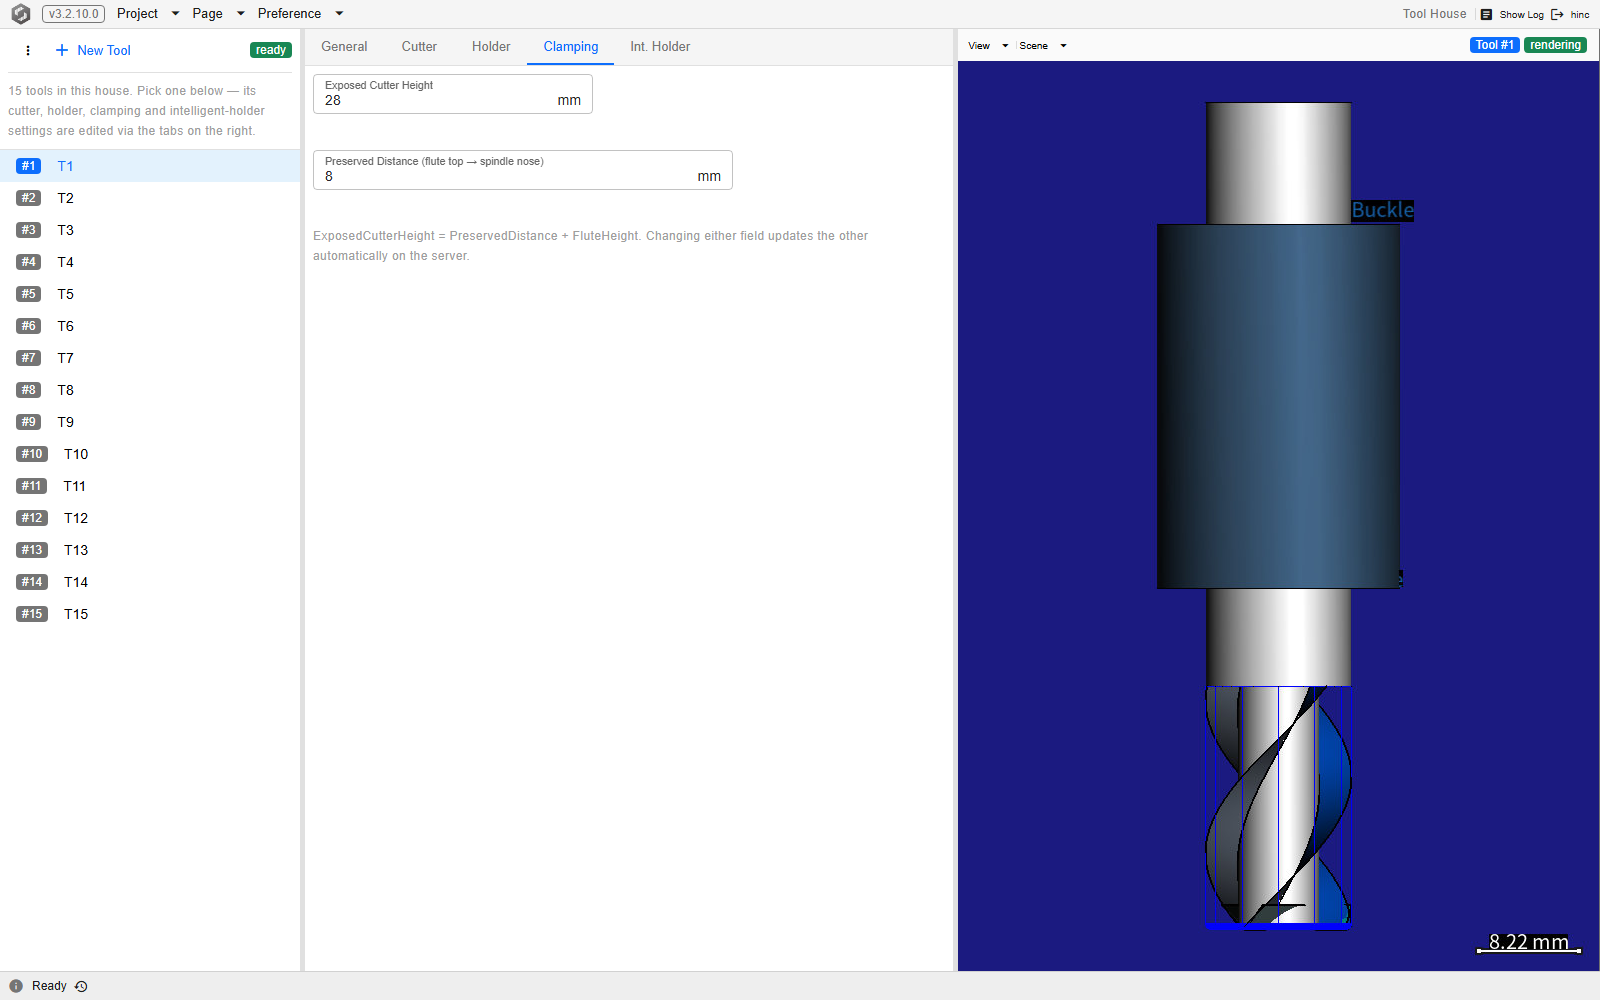
Clamping is two numbers that are really one. Exposed Cutter Height is how far the cutter stands out; Preserved Distance is the gap between the top of the flute and the spindle nose. They differ by the flute height, so editing either one moves the other, and the panel says so.
Tool 1's Clamping tab, at /tool-house/1/clamping. The two fields read 28 mm and 8 mm, and the
line beneath them states the relation the server keeps between them.
Int. Holder is the smart holder's Observation Location: which anchor the sensor reading is referenced to — none, the tool tip, the holder anchor or the spindle buckle — then the height above that anchor and the radius of the observation ring. What those settings mean is Smart Tool Holder.
Two kinds this screen cannot draw the numbers for
The Freeform Remover cutter and the freeform holder geometry can be selected here, but this page carries no editor for either. Picking one leaves whatever the tool already holds untouched — nothing is cleared — and shows a note naming where that shape can be edited instead. The same is true of the custom spinning profile: the Flute Profile tab offers the five APT types and nothing else.
See Also
- Cutter Geometry — what every quantity on these tabs means, and when to prefer an extended cylinder over an explicit shank profile
- Smart Tool Holder — the sensor settings behind the Int. Holder tab
- Project Data Checklist — what to collect about a tool before creating it
- Milling Physics — the models every quantity entered here feeds
- Setup — the rest of the pre-simulation configuration